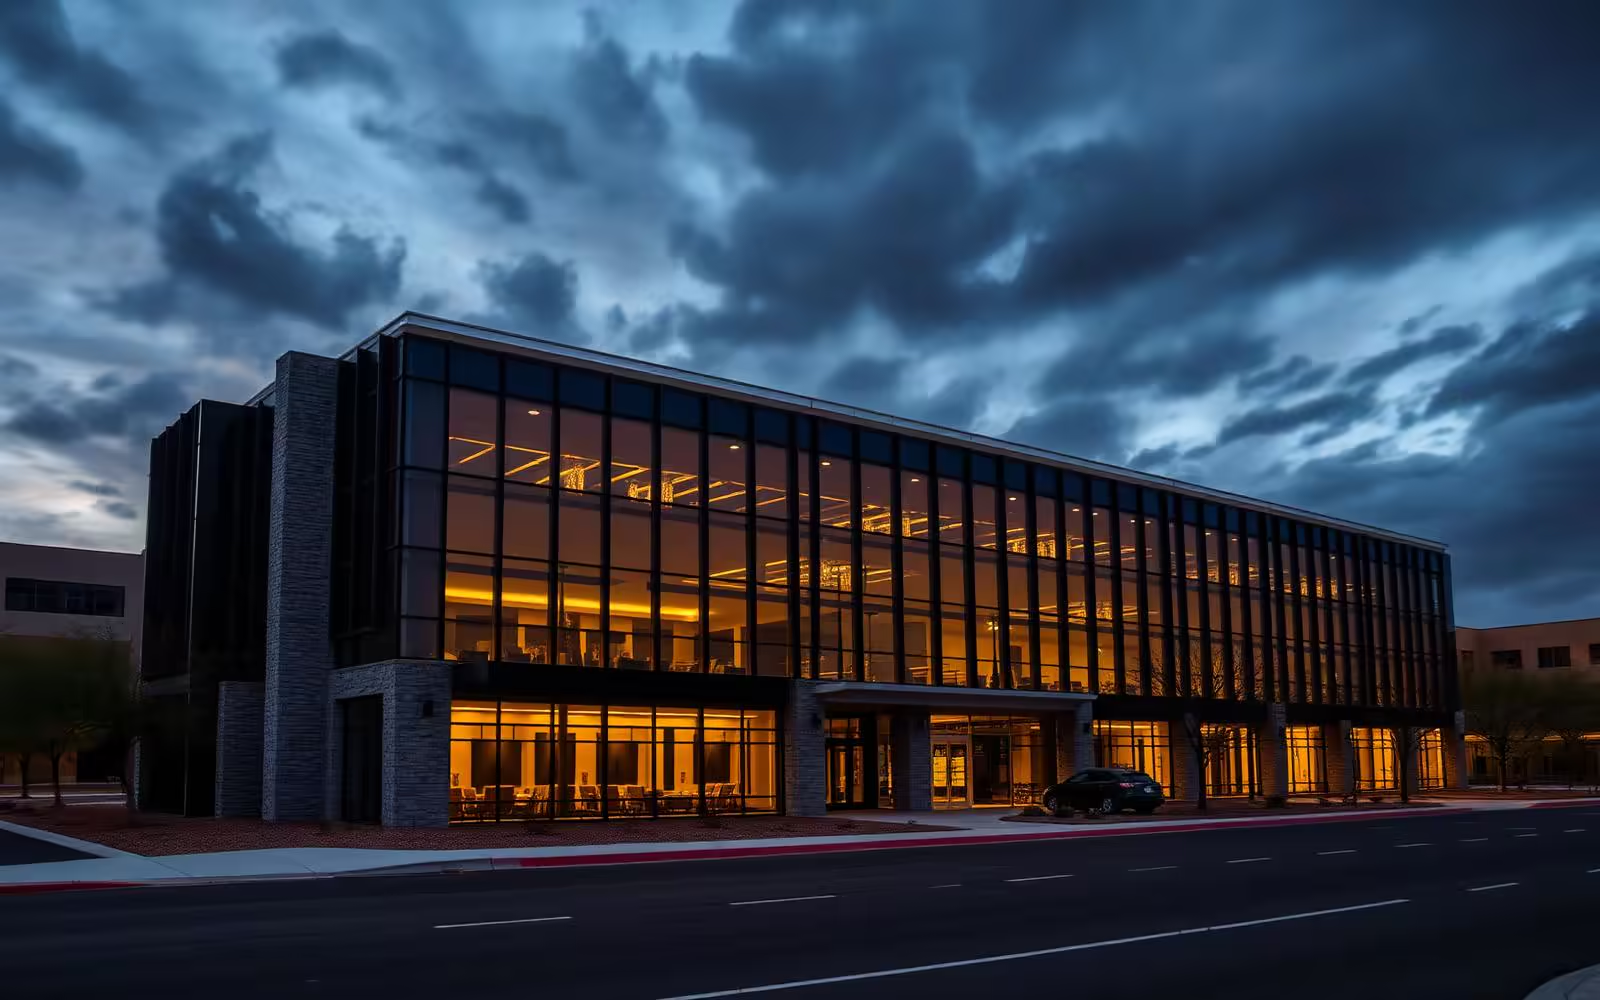

Case 01
Symptom
Bruising Or Dimpling On The Membrane Surface
Likely Cause
Hail impact has compressed the membrane without fully puncturing it, a common finding after a hailstorm.
Fix
Full membrane inspection and impact mapping.
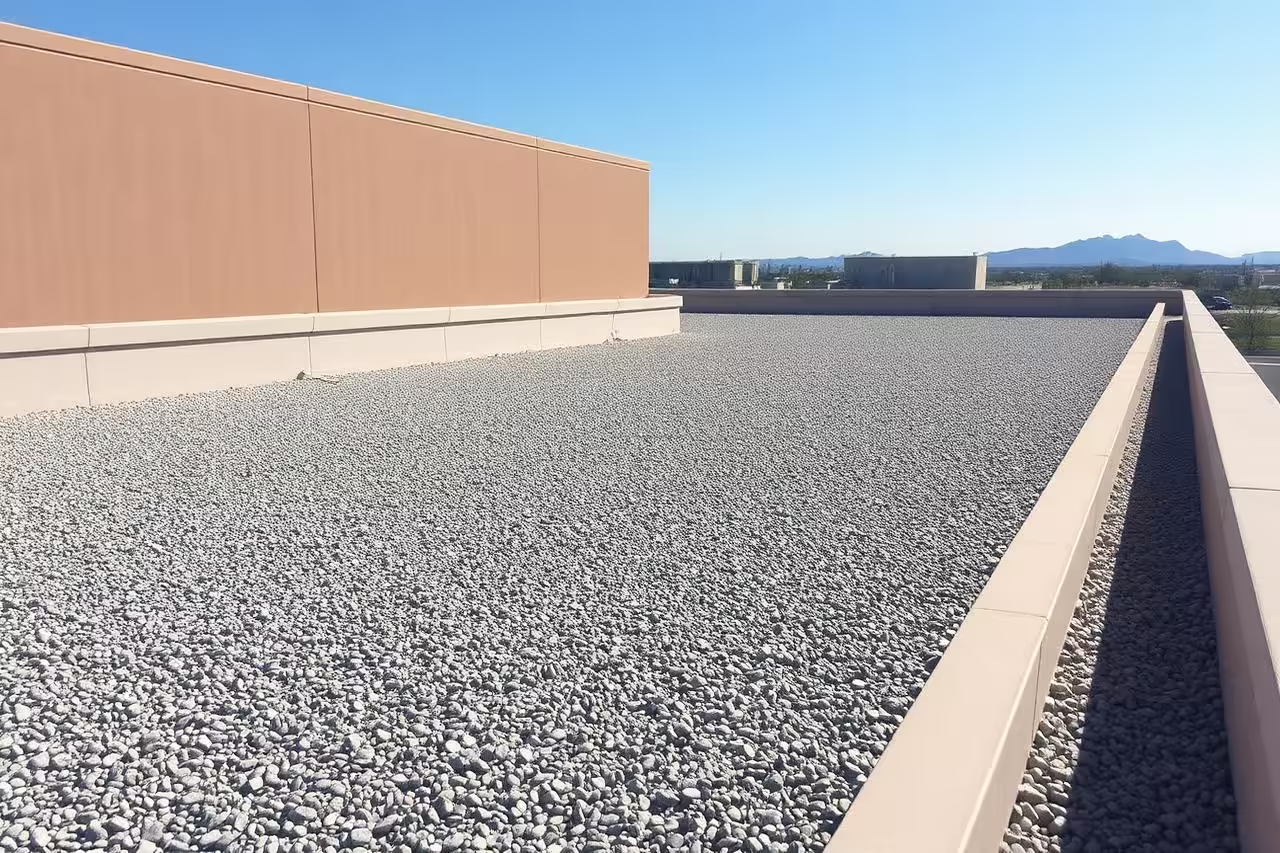
Complete Guide · Updated For Arizona Commercial Roofs
A monsoon storm or hail event puts a commercial roof under load no routine weather ever does, and proper documentation immediately afterward is what determines whether an insurance claim reflects the actual damage.
Storm damage documentation is typically a structured process rather than a quick walk-through, and telling the two apart affects both claim accuracy and repair timing.
High wind, hail, and heavy rain put membrane, flashing, and rooftop equipment under stress a normal Arizona sun day never does. The membrane field usually survives it. The seams, flashing, and equipment mounts at every penetration often do not.
This page walks through what proper storm documentation involves, so a building owner can tell the difference between damage that needs monitoring and damage that needs immediate repair and a formal insurance claim before it moves into the building interior.
High wind and hail during Arizona's monsoon season put more stress on a roof than any other time of year.
The membrane field is rarely the first casualty. The details holding the assembly watertight are.
In most storms, targeted repair based on documentation is enough. Full replacement is reserved for widespread structural damage.
As much a documentation timeline issue as a repair issue. Without prompt photos, the extent of damage is harder to establish.
Read the damage first. Some of it is a straightforward repair and photo log, and one of these means water has already moved behind the membrane.
Symptom
Likely Cause
Hail impact has compressed the membrane without fully puncturing it, a common finding after a hailstorm.
Fix
Full membrane inspection and impact mapping.
Symptom
Likely Cause
Wind uplift has separated a seam or flashing edge during a high-wind event.
Fix
Seam repair, sometimes with a broader wind-uplift inspection.
Symptom
Likely Cause
Wind has shifted or damaged HVAC units, vents, or mounts, often stressing the flashing around them.
Fix
Documentation of equipment position plus flashing inspection.
Symptom
Likely Cause
Storm damage has already created an active entry point, usually at a seam, flashing detail, or penetration.
Fix
Professional assessment and leak trace. May require immediate repair.
Symptom
Likely Cause
Hail impact accelerating wear on a granulated or coated membrane surface.
Fix
Documented photo log, then a coating or membrane assessment.
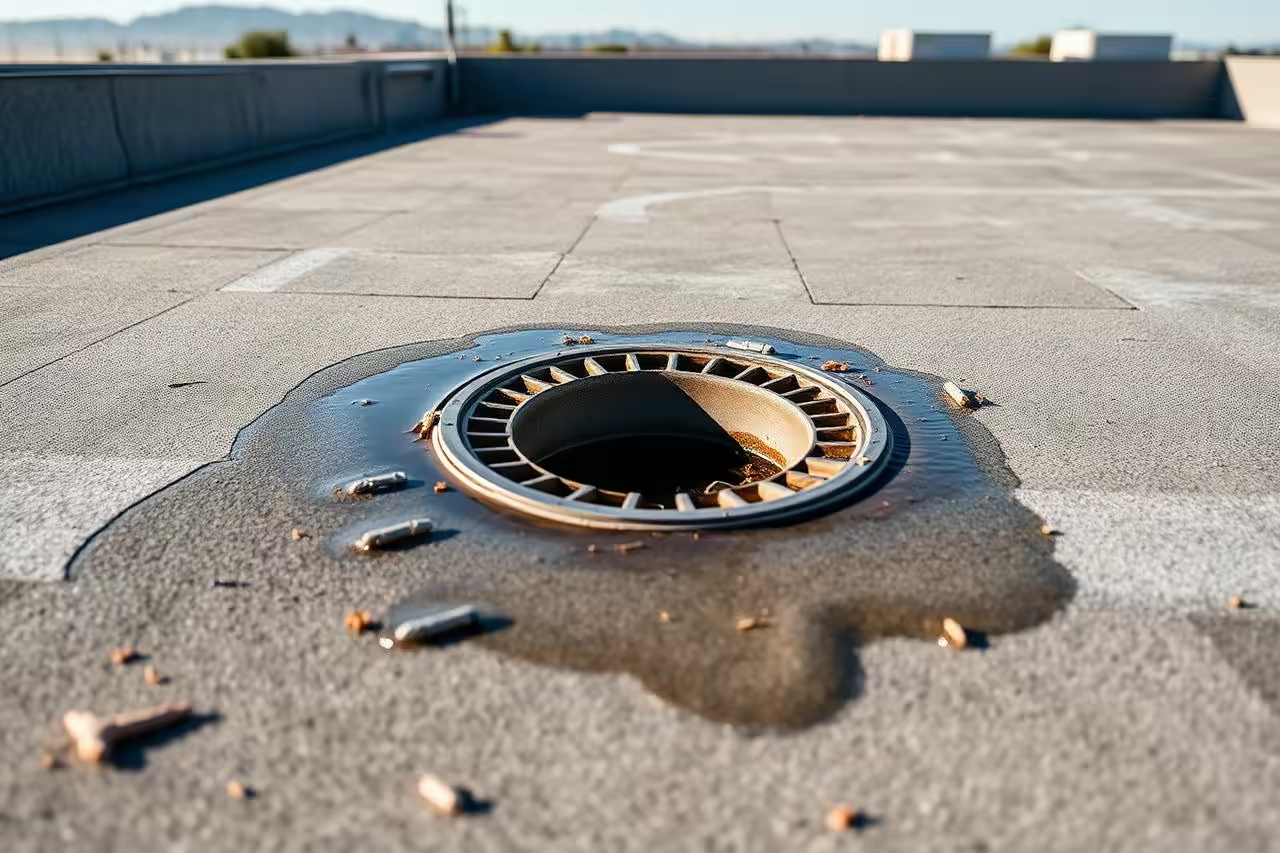
The warning signs after a storm are the same symptoms mapped above. Treat that grid as the checklist: any one of these means the roof needs documentation and assessment beyond a routine visual check.
Documentation runs in phases, and each one supports the next, especially for an insurance claim. Rushing the initial photo log is the single most common reason a claim is disputed later.
Walk the roof as soon as it is safe after the storm, checking membrane, flashing, seams, and rooftop equipment for visible impact or displacement.
Capture wide shots and close-up detail of every affected area with a timestamp. This is the step most rushed inspections skip, and it is why claims get disputed.
Compile findings into a written report describing damage location, extent, and likely cause, correlated with recorded storm data where available.
Provide documentation to support an insurance claim, and establish a repair or replacement scope based on the confirmed extent of damage.
For the assessment-feasible portions of the process only. Everything below covers documentation and visual inspection, not structural repair.
Impact assessment and structural evaluation are where an untrained walk-through goes wrong. If equipment has shifted or seams have torn across more than one area, get a professional evaluation before filing a claim.
After any significant monsoon storm or hailstorm, this is the process that establishes an accurate record. Run it promptly, ideally within days of the event.

Check for standing water, loose debris, or displaced equipment before walking the roof after a storm.
Wide shots first, establishing overall condition, then move to specific areas of concern.
Work systematically across curbs, vents, and seams, paying attention to areas exposed to prevailing wind.
Compare current equipment placement to any prior documentation to identify wind-caused displacement.
Scan areas near visible damage for early moisture intrusion before it becomes an interior leak.
Assemble photos and notes into a dated report immediately, while conditions and recollection are still fresh.
Storm damage indicators are mostly four categories. Three call for documentation and monitoring, and the fourth is telling you the roof needs immediate repair.
A full impact map and photo log establishes the pattern. For scattered light bruising, monitoring with a follow-up inspection is often appropriate.
Documented photo comparison against the roof's known condition prior to the storm, applied to the affected areas rather than the whole field.
Position documentation short term. If flashing has torn around it, the answer is repair, not just a photo record.
Immediate leak trace and repair, worked alongside the documentation rather than delayed until the report is finished.
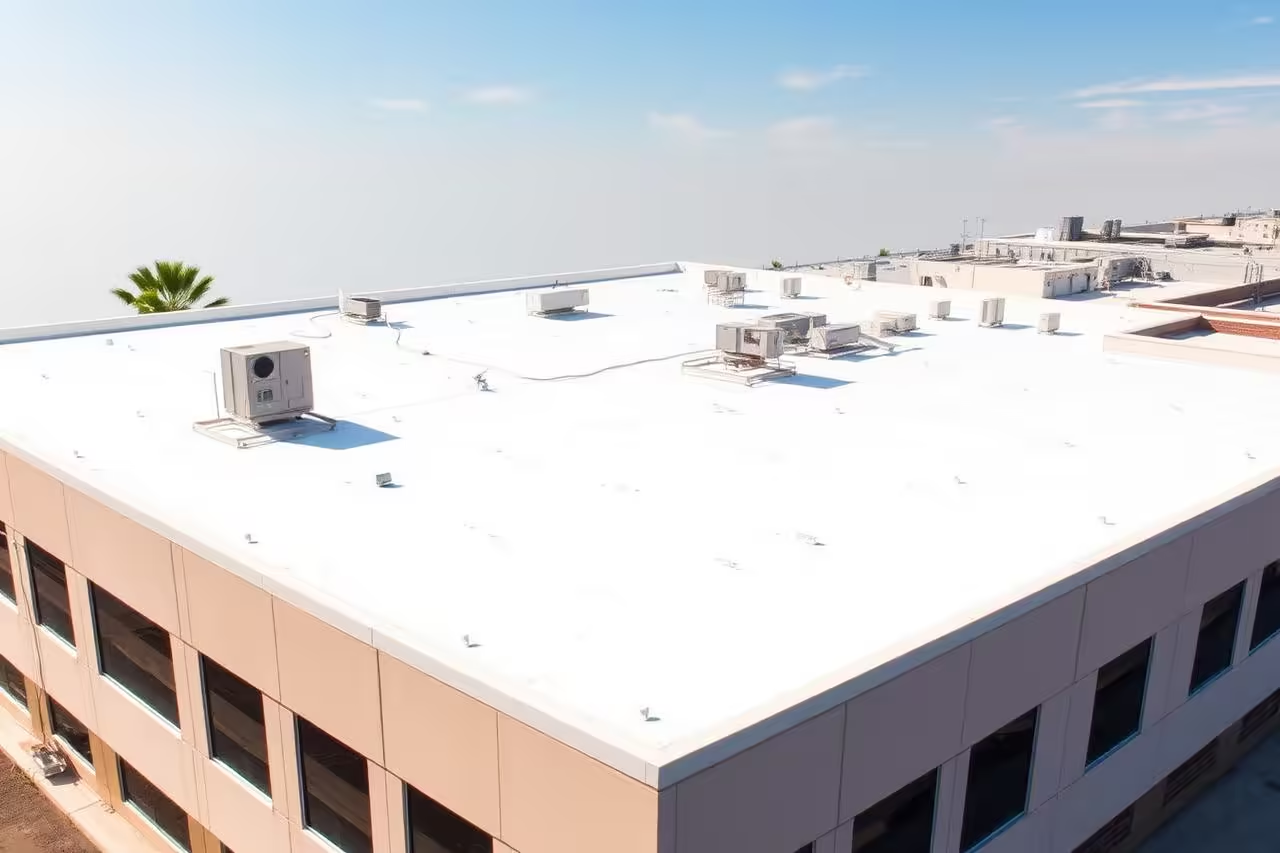
Seams and flashing throughout the roof get inspected after a storm, and equipment mounts get checked. Those are the two most common failure points after wind and hail.
Field seams, curb flashing, and perimeter details all get checked. Wind-driven storms stress these details continuously.
Hail bruising is a compression issue, not a lifting issue. It is documented and monitored differently than wind-related seam separation.
HVAC curbs, vents, and equipment mounts change how wind loads the roof and are where storm damage concentrates first.
Homeowner care handles maintenance. These situations are restoration work, and waiting on them almost always raises the cost.
Seam failure in more than one location usually means the storm caused wind uplift across the field, not an isolated spot.
A confirmed active leak after a storm event needs repair addressed alongside, not after, the documentation process.
Bruising found across a large portion of the roof is a full assessment and likely claim situation, not a spot repair.
Any sign that storm-driven water has reached the deck needs assessment immediately, before it becomes framing damage.
Want A Read On Your Roof?
Free assessment across the Phoenix metro and Tucson.
Roof leaks rarely show up directly above the stain on the ceiling. How we trace a leak to its actual source, and when a repair is enough versus when the membrane has failed beyond a patch.
Learn moreOverview content for this guide is being finalized by our roofing team and will replace this text.
Learn moreThe master coatings reference: silicone, acrylic, and elastomeric coatings, and recoat frequency for every roof system in this Resource Center.
Learn moreReady When You Are
Commercial roof installation, repair, and maintenance across the Phoenix metro and Tucson, locally owned and operated.
Phoenix Metro · Tucson
Free Roof Inspections For Owners & General Contractors